
What’s better than creating something totally from scratch? It’s a fantastic feeling to think to yourself, ‘I did it.’ Even better, you know exactly what’s inside your gaming rig and all the components it took to put them together. So, how do you go about building one?
Get the right tools
You don’t need a lot to build a computer. In fact, the most essential tool you really need is a single Phillips screwdriver. However, there are a few extra bits and pieces that might come in handy as you’re going along. We would recommend making sure you also have a pair of tweezers or, even better, needle nose pliers. You will also find zip ties handy for keeping all those wires in a neat place and some scissors or side cutters to cut those cable ties with. If you really want to be sure, then you could do with getting an anti-static wrist strap too, just in case.
Choosing your components
You’ll need to know what to put inside your computer, and doing the research on each individual component can’t hurt either. You will require a CPU, or central processing unit, motherboard, RAM, graphics card, storage, power supply unit, system cooling and airflow, a case, monitor, operating system and the essential mouse and keyboard. Phew, okay, we got there. It sounds like a lot, but it all makes sense once you start putting them together. Go online and check out what would suit you best, whether you want an Intel i5 core or i7 and so on.

Install your CPU
You will first need to install your CPU, you need to need to be exceptionally careful with this as it is incredibly delicate and can be damaged easily. There will be a CPU socket with an arrow on it, next to it there is a small lever which you will need to press down and pull to the side. Line the arrow on the CPU up with the socket and then place it into it. Then lower the lever back down.
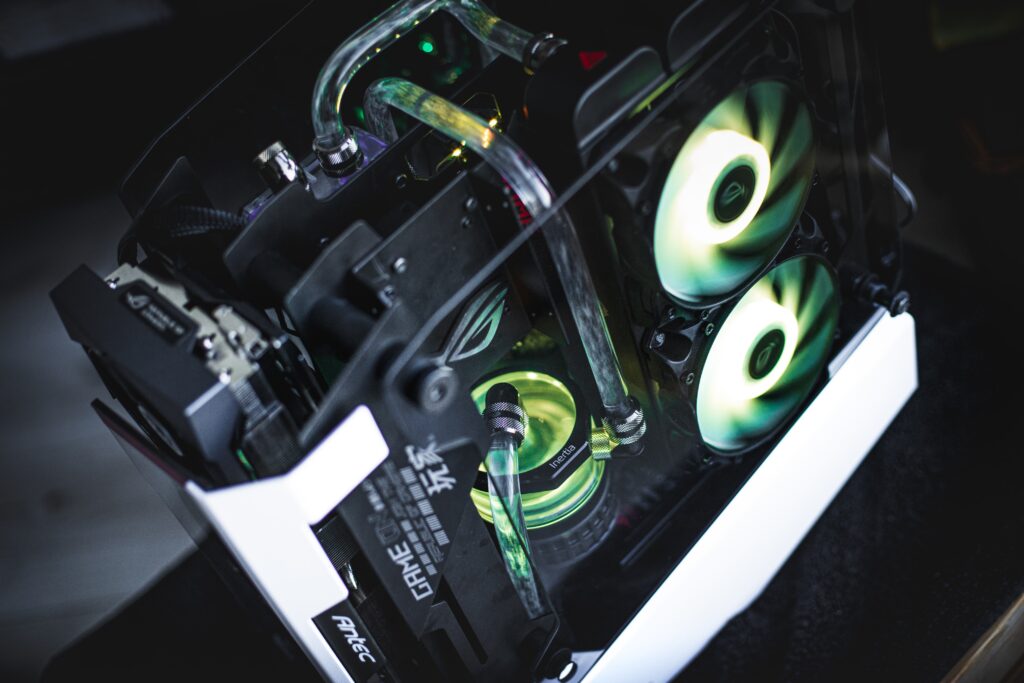
Add the CPU cooling
Depending on which system you have chosen to purchase, it would normally be best to consult the instructions that come with your product. You will need to check if your cooling system comes with a bracket or if you will need to get one separately. Follow the instructions and add them to your computer.
Install your RAM, or memory
The kind of motherboard you have bought will determine how much RAM you can put in. This usually is either two or four. If you have chosen to use up all the RAM slots, then you can add it in as you wish. If not, you will need to check your guide for the correct configuration.

Sorting the power supply
Now you will need to make sure that your computer has a power supply. The ideal location tends to be somewhere at the bottom back of your case, and with the fan facing outside, so it’s well ventilated. Alternatively, this can face upwards if you have no ventilation. After this, you can install the motherboard following the recommended procedures, followed by the GPU. After that, you will need to install storage into the motherboard using either SSDs or HDDs.
Once you have completed putting your gaming rig together, you will need to upload and install an operating system such as Windows on there. You can do this by entering in a USB drive into the computer. Once you have done all this and a few test runs, you’ll be good to go.